How to Dynamically Set Event Images on Registration Forms in Dynamics 365 Customer Insights Journeys

Background

One thing I love about blogging is the comments I get with questions, big and small. A few posts ago, I was asked about setting a dynamic event image on the event registration form in Customer Insights – Journeys. Naturally, I had to investigate.

As it turns out, it’s not as straightforward as I initially thought. First off, the Event Image field is now hidden on the Event form. Microsoft, what’s going on here? 🤔 And secondly, the Insert Image control in forms doesn’t support dynamic content, meaning we can’t directly add the source URL for the Event Image.

So, I turned to my trusty friend Google and found that the always so helpful Megan V. Walker had already tackled something similar with dynamic images in email templates. Megan, if you’re reading this, a huge thanks for paving the way! 😊 Unfortunately, even with Megan’s approach, I couldn’t directly insert the dynamic content into the form.

Solution

But fear not – there’s an easy workaround! Let’s break it down:

Part 1 – The Missing Image Field

For this, just follow the steps in Megan’s post. Seriously, it’s all there, and she’s done an amazing job explaining it. When you’re done, come back, and we’ll tackle the next challenge. 😉

Part 2 – Insert Dynamic Event Image in registration form

We won’t let something as trivial as a missing control ruin our event-planning fun. Trust me, there are far better things in life to have a mental breakdown about—like seeing the bill for all the cocktails you confidently charged to your room at a fancy resort, or wearing red to your cousin’s wedding and being very quietly told what that actually means. 😅

Here’s the workaround:

Even though we can’t directly add the URL for the image, we can work around this by inserting the dynamic tag as text on the form and copy-pasting it into the Image control. Simple, right? Let me walk you through it:

  1. Open the Registration Form you want to edit.
  2. Add a Text Field to the form. Don’t worry—we’ll delete this later.
  3. Insert the Dynamic Tag for the image URL as text:
    o Place your cursor in the text field.
    o Click Dynamic Text in the menu, then select New Dynamic Text.
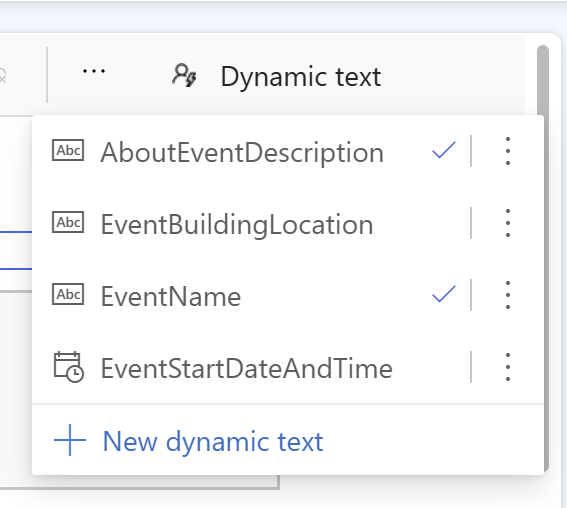
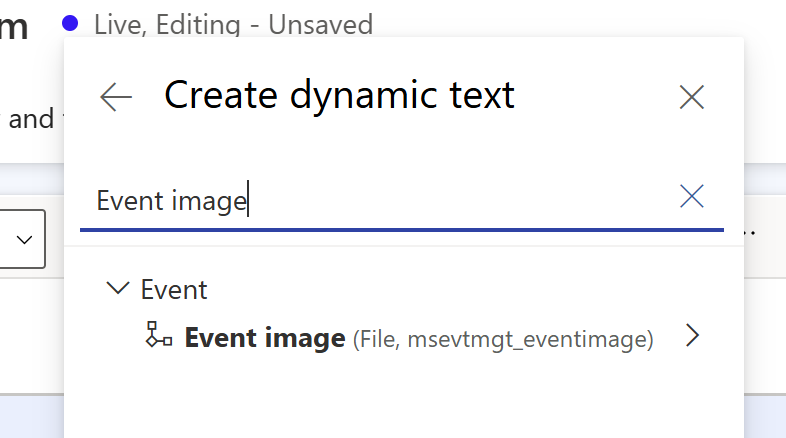
    o Click Choose an Attribute and search for Event Image.
    o Select BLOB CDN URL from the options.
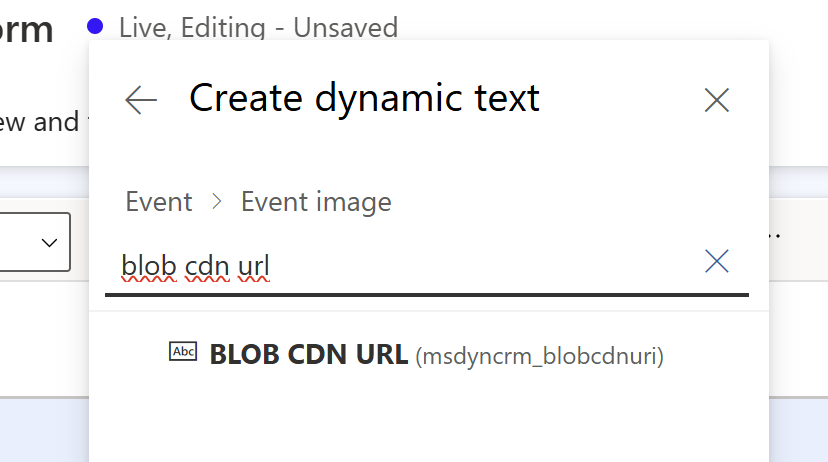
  4. Save the Dynamic Tag:
    o You should now see something like the image below.
    o Click Save to insert the tag into the text box.
  5. Copy the Tag:
    o Highlight the dynamic tag you just inserted and copy it.
  6. Insert the Dynamic Tag into the Image Control:
    o Add an Image element to your form and select Choose an Image.
    o Choose Insert from URL.
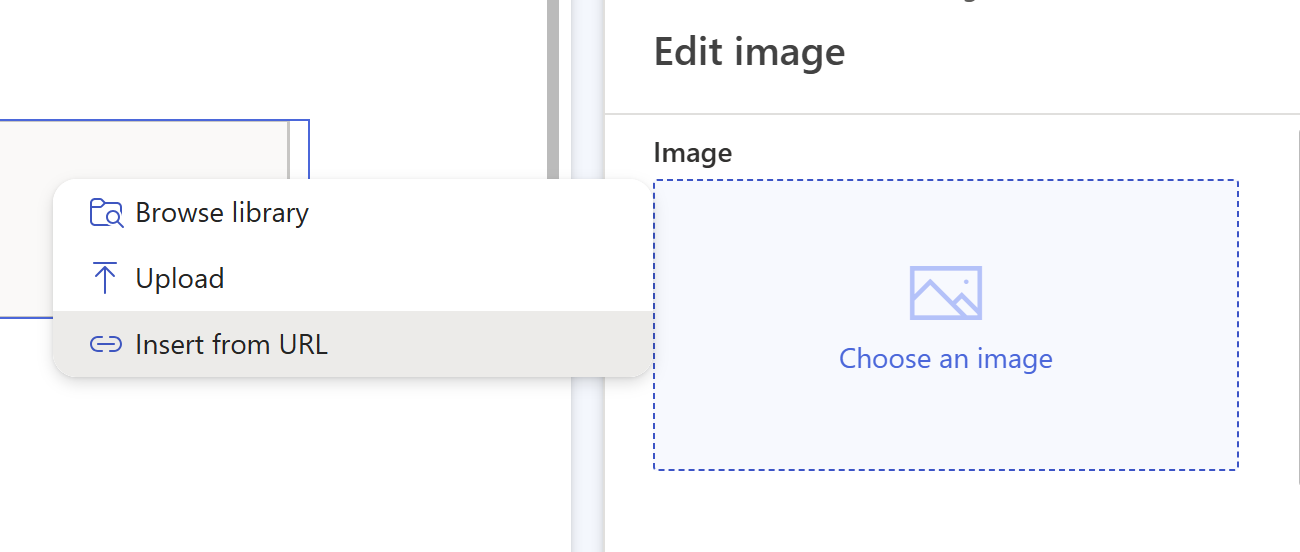
    o Paste the copied dynamic tag into the URL field and click Insert.
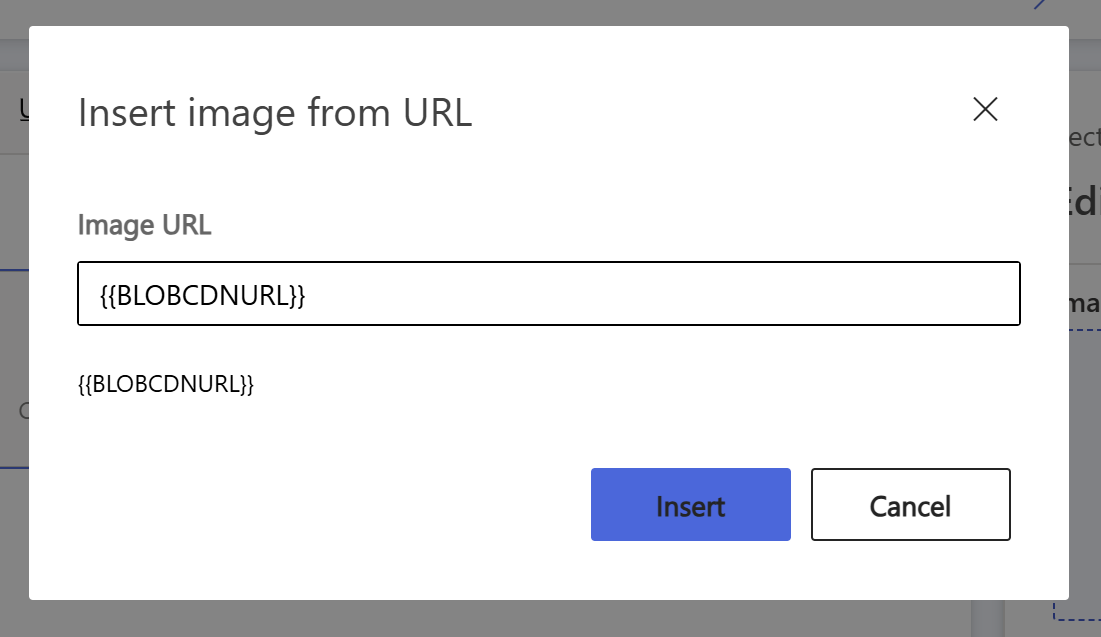
  7. Delete the Text Box:
    o Go back and delete the text box you used to insert the dynamic tag.
  8. Verify Your Dynamic Image:
    o The image element should now display “Dynamic Image.”
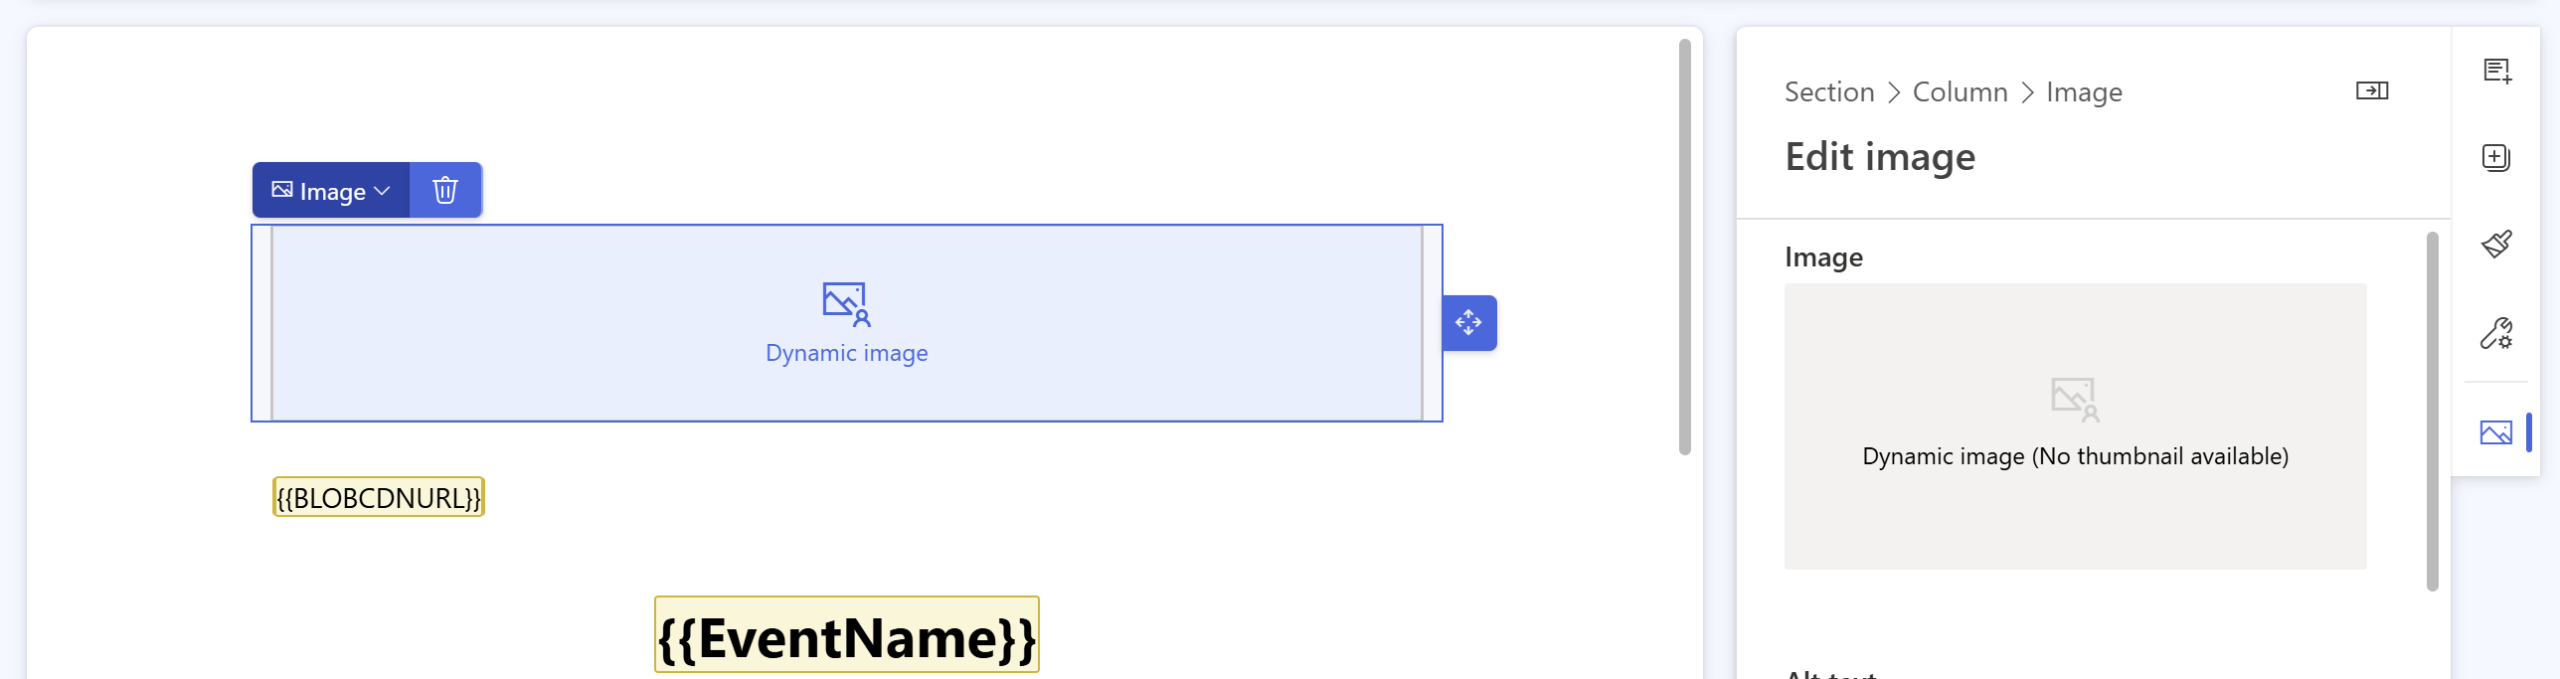
    And that’s it! You’ve successfully added a dynamic event image to your form. 🎉

Conclusion

Sometimes, what seems impossible at first just needs a different approach. While the tools may not always work exactly as we’d like, with a bit of problem-solving and creativity, there’s often a way forward. It’s a good reminder that limitations are often just opportunities to find new solutions, no matter how cliché that might sound. 😄

Comments

5 responses to “How to Dynamically Set Event Images on Registration Forms in Dynamics 365 Customer Insights Journeys”

  1. Megan Walker Avatar

    Hooray! Love it. Great to see collaboration across the blogs without even realising it. 😄

    1. Carl Avatar

      No need to reinvent your perfectly crafted wheel! This is exactly what I love about this community, being able to add to and be inspired by each other’s work while giving credit where credit is due. Thanks for saving me time and being part of this collaboration, even if you didn’t realize it was happening! 😉

  2. Joris Vanderlinden Avatar
    Joris Vanderlinden

    Hi Carl. Megan pointed me to your blog. I look forward to reading more from you. For now, I have a particular question that you might have some insights or experience on. In one of her posts, Megan explains how to format the list of event sessions in an autoresponder email: https://meganvwalker.com/send-session-reminder-email-after-check-in/. She played with the CSS and HTML to get a nicely formatted table. I was wondering if the same could be done on an event registration form, when the Sections element is used. I would like to visually separate the list of sessions per day (for an event that spans 4 days).
    Also, would you have any insights on how to get the session dates and times to be displayed in European format (dd/mm/yyyy)?
    Looking forward to your reply.
    Joris

    1. Carl Avatar

      Hi Joris,

      Thank you for reaching out and for your interest in my blog! I’m glad Megan pointed you my way. 😊

      Regarding your question about the event registration form: I haven’t worked with session formatting on forms yet, but it’s definitely something I’m planning to explore further. I did try making some adjustments recently, but unfortunately, it caused the form to stop loading properly, so I’ll need to dig a bit deeper to get it working as expected.

      I think your idea to visually separate sessions by day and format the dates in dd/mm/yyyy is fantastic, especially for multi-day events. Once I’ve had a chance to experiment with this, I’ll be sure to share my findings in a future post.

      Thanks for your patience, and feel free to check back soon! I’d also love to hear if you make any progress on this in the meantime.

      Best regards,
      Carl

    2. Ivo Guimarães Avatar
      Ivo Guimarães

      Hi Joris and Carl,
      I recently had a request like this one. We are using session registration in our forms and we wanted to show the session dates alongside the session titles. Unfortunately date formatting is not possible (as far as I know) in the sessions code section. The only way I got it to work was through javascript. I added a script to detect all “span” elements inside “eventSessions” div’s and using the library luxon, it formats the date to exactly the format we want. Please be aware that the dates generated in the form seem to depend on the end user region, so when setting up the javascript, you need to make sure it is ready to parse all kind of dates. I can share the script with you, I just can’t paste it here, no space.
      For the split by day, I would say the only solution would also be in javascript, but for that one I don’t have any use cases.

Leave a Reply

Your email address will not be published. Required fields are marked *